Sixteen minutes. That is how long it took us to go from a sealed box to a live bonded tunnel on a GL.iNet GL-MT6000 Flint 2, and we did not touch a terminal once. No SSH, no serial cable, no TFTP server, no risk of bricking anything.
If you have ever bonded connections on a Teltonika, you already know the Bondix client. What is new is that it now runs on a mainstream off-the-shelf router: 2.5GbE on both WAN and LAN, WiFi 6, and widely available. If you already have a Flint 2 on the shelf or in a cupboard, this is how you put Bondix on it.
We have a particular soft spot for this client, because it is one we helped test extensively: the Bondix Universal Client was developed and tested jointly by Bondix and SimpliWiFi. Getting it onto everyday hardware like the Flint 2, with no terminal in sight, is exactly what that work was for.
Or have it arrive done. We ship the Flint 2 with Bondix already installed for £183 inc VAT, with the firmware and client done before it leaves us. All that is left at your end is pasting in your hosted connection code, or your own server and tunnel details if you self-host.

What you need
- GL.iNet GL-MT6000 (Flint 2): the one you already own, or buy it from us with Bondix pre-installed and skip to the end
- A laptop with an Ethernet port (or a USB adapter)
- One working internet connection for the initial setup, into WAN1
- The firmware: GL.iNet stable release 4.9.0 (released 11 June 2026), from the GL.iNet download centre for the MT6000. That page always serves the current stable build, so you may find a later version there. 4.9.0 is what we tested and what the screenshots below show; a newer stable should behave the same, but we have not verified it.
- The client package:
Bondix-Client-Universal-1.0.ipk, from your SimpliWiFi portal or supplied directly by us - Your connection code, from your hosted tunnel account. Self-hosting your own Bondix server instead? Have your server address and tunnel credentials to hand. Our definitive guide to hosted Bondix covers building one.
- A second WAN source to actually bond with: a second circuit, a 4G/5G modem, Starlink, whatever you are combining
Total time: about 16 minutes, most of it waiting for reboots.
Getting the router ready
- Unbox the Flint 2, connect the power supply, and power it on.
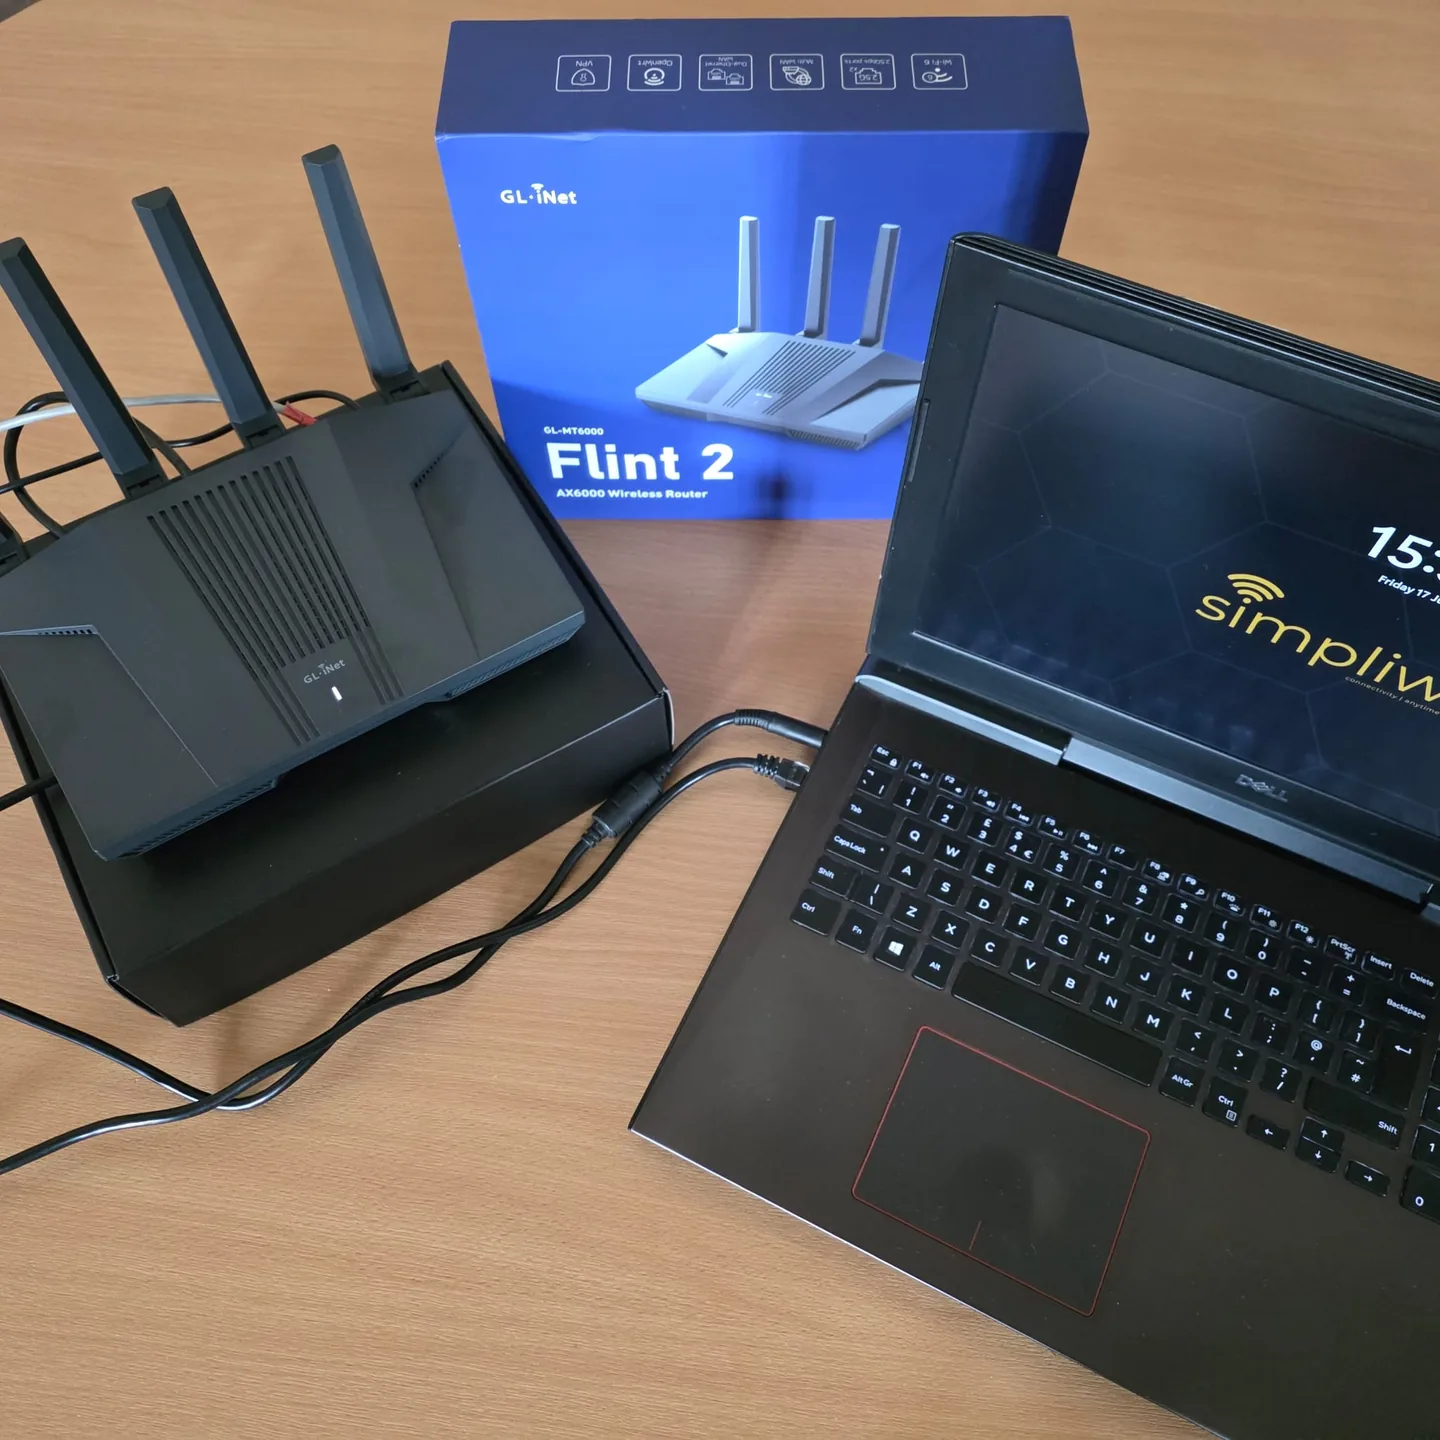
- Connect your laptop to LAN port 3.
- Connect your working internet connection to WAN1.
- Browse to
http://192.168.8.1to reach the admin interface.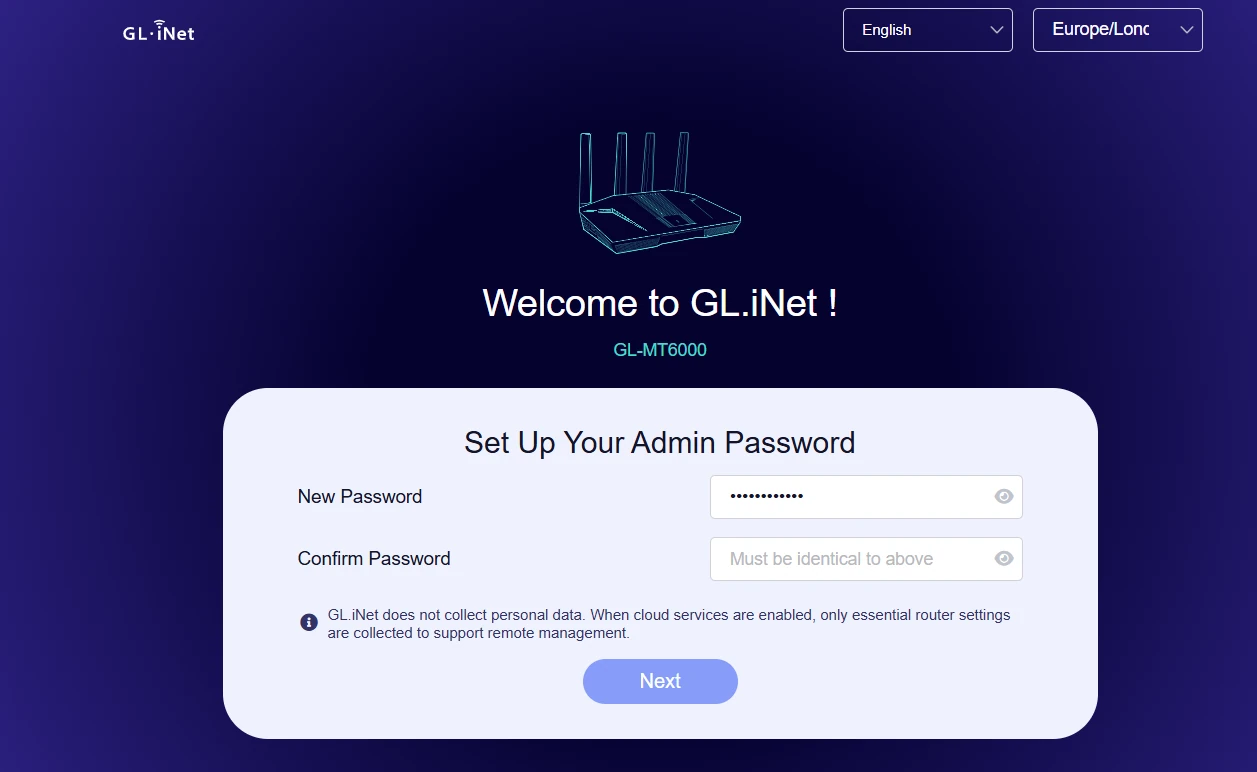
- Set the router admin password when prompted.
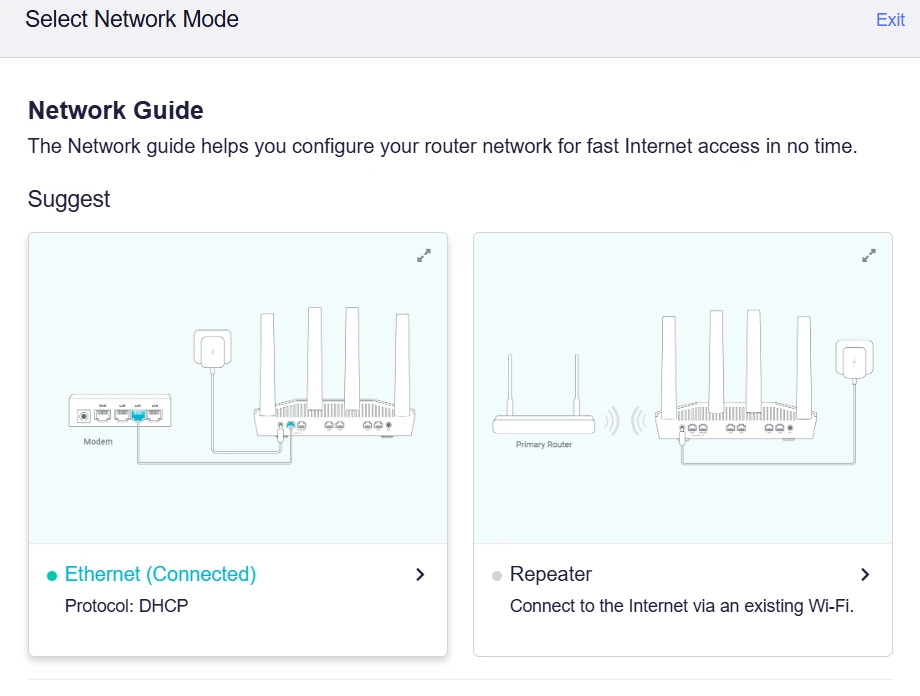
- Confirm the WAN connection is set to DHCP and click OK.
Adding LuCI and updating the firmware
A note on firmware: we are staying on GL.iNet’s own build, and that is deliberate.
GL.iNet’s firmware is OpenWrt underneath, and the Bondix client installs natively on it. Staying on stock keeps the GL.iNet interface, the warranty, and the recovery path intact, and it is precisely why this is a sixteen-minute job with no terminal.
Vanilla OpenWrt 24.10 can be put on a Flint 2, but the firmware build makes it a considerably more involved job: extensive command line work, your warranty gone, and a one-way trip, much like converting a MikroTik. We ran the client on vanilla as well, and measured the same throughput as we did on stock. It is a great deal more work for identical results. We will cover the vanilla route properly in its own post for anyone who wants it for other reasons.
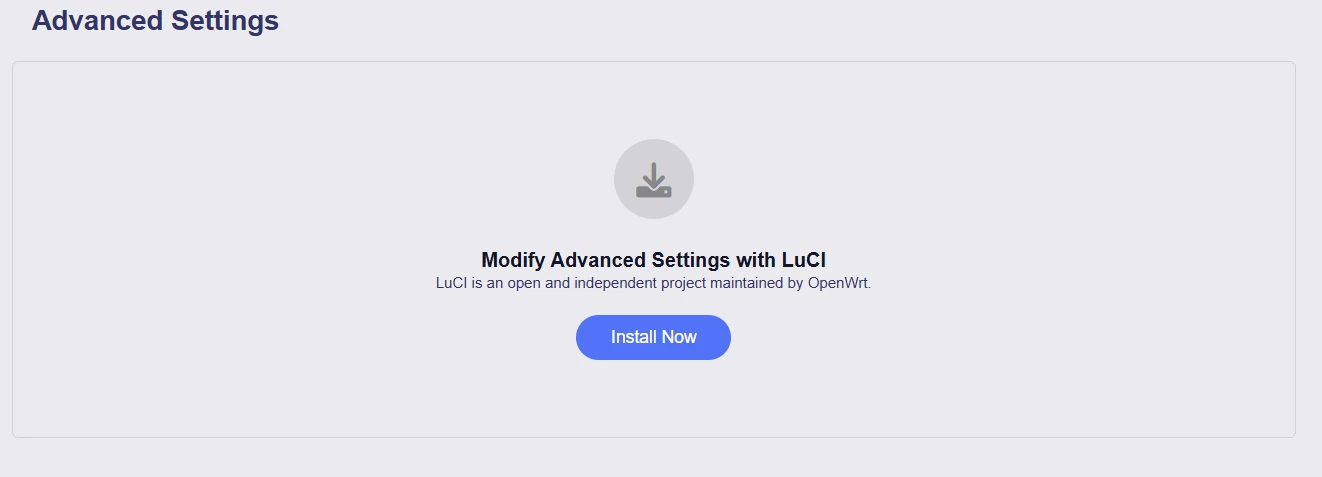
- Go to Settings → Advanced Settings.
- You will be prompted to install the LuCI add-on. Install it.
- Open the LuCI interface. Log in with the password you set at step 5.
- Go to System → Firmware Upgrade and upload the GL.iNet 4.9.0 firmware image you downloaded from the MT6000 download centre.
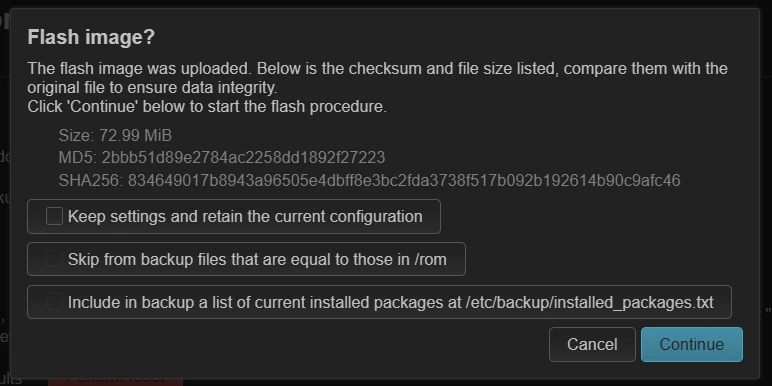
- Follow the on-screen prompts. When you reach the Keep Settings option, untick it. If you leave it ticked the upgrade will fail.
- The router reboots and returns you to the login page. There will be no password set. Click straight through to log in, then set a password immediately. Do not skip it and do not carry on until it is done.
Installing the Bondix client
- Go to System → Software.
- Click Update package list and let all package lists refresh.
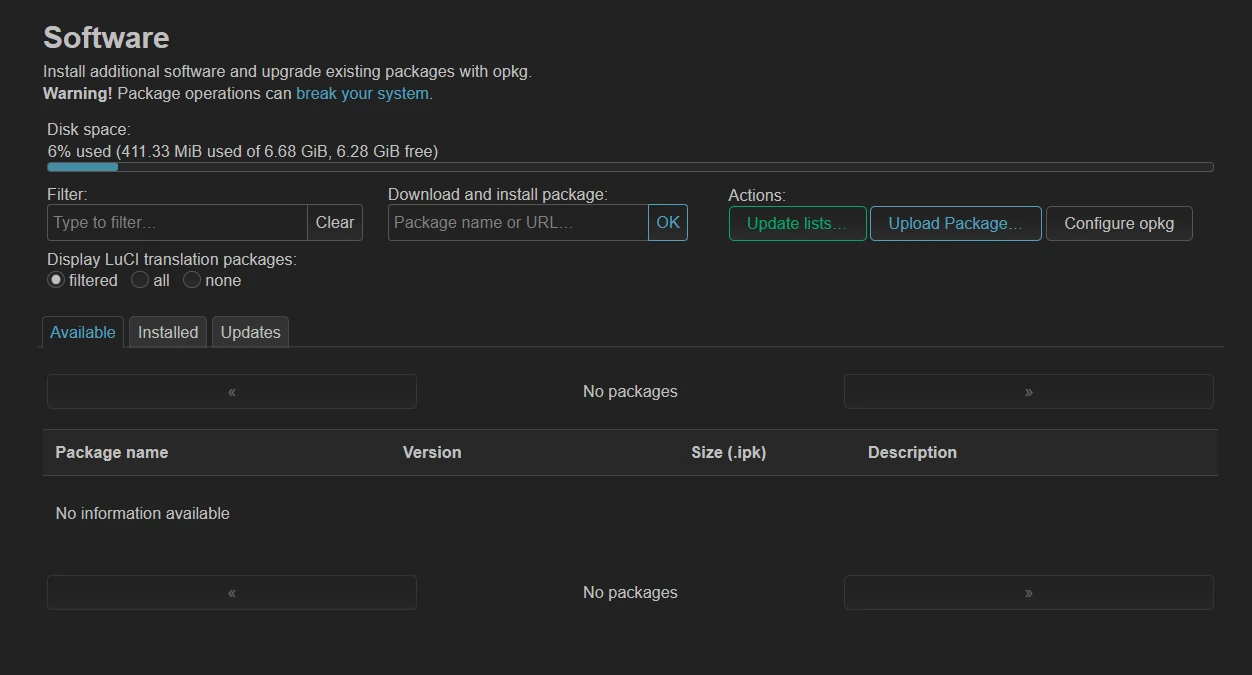
- Click Upload Package.
- Select
Bondix-Client-Universal-1.0.ipk.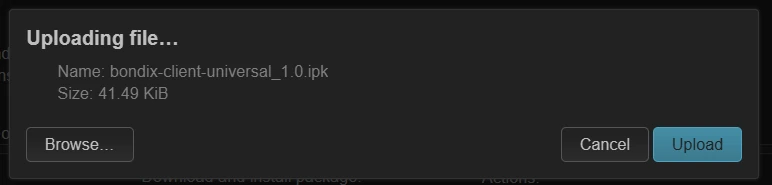
That is the whole install. Every dependency the client needs is resolved and installed automatically as part of the package. There is no list of kernel modules to chase down first, and nothing to install by hand. This was not true of earlier builds, and it is the single biggest reason this process no longer needs a terminal.
- The client now appears under Network → Bondix Bonding.
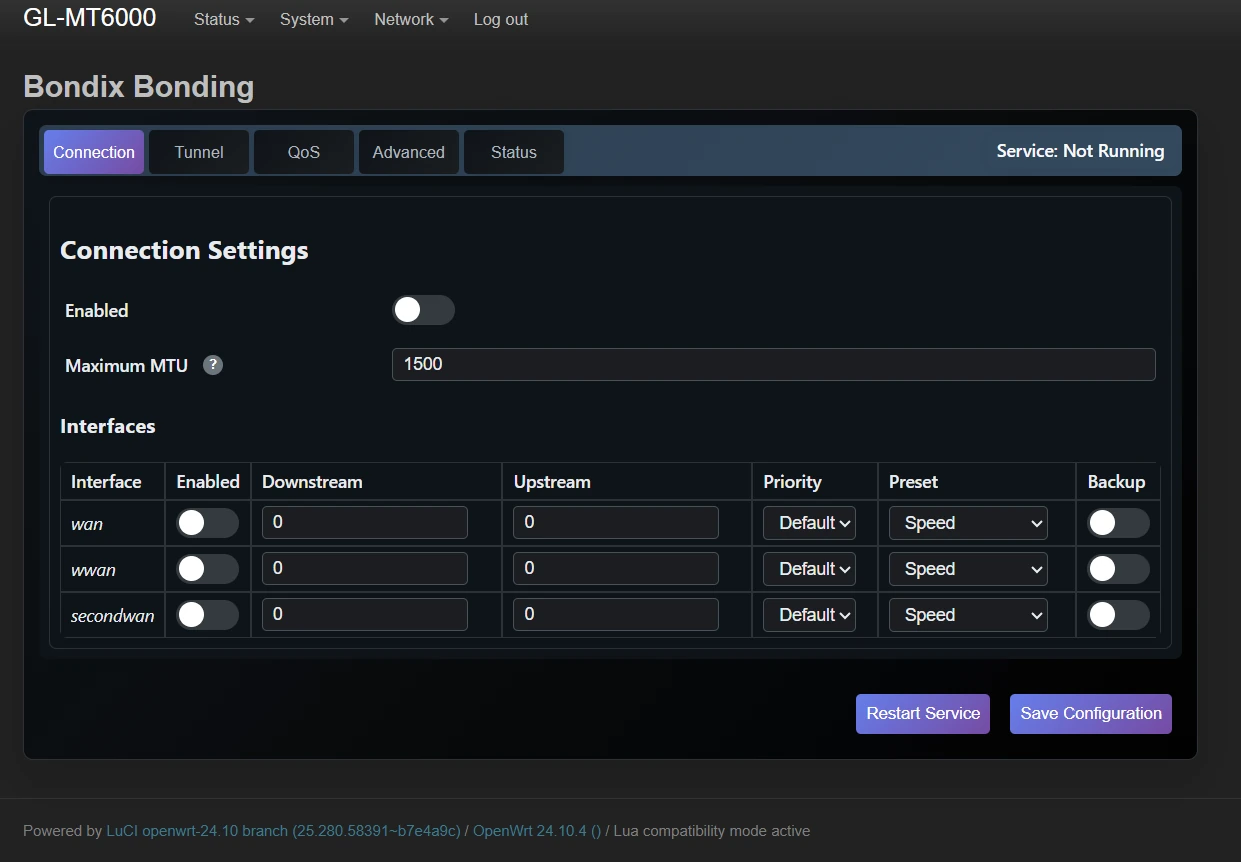
- Configure it exactly as you would on a Teltonika. Either paste the connection code from your hosted tunnel account, or enter your own server and tunnel details.
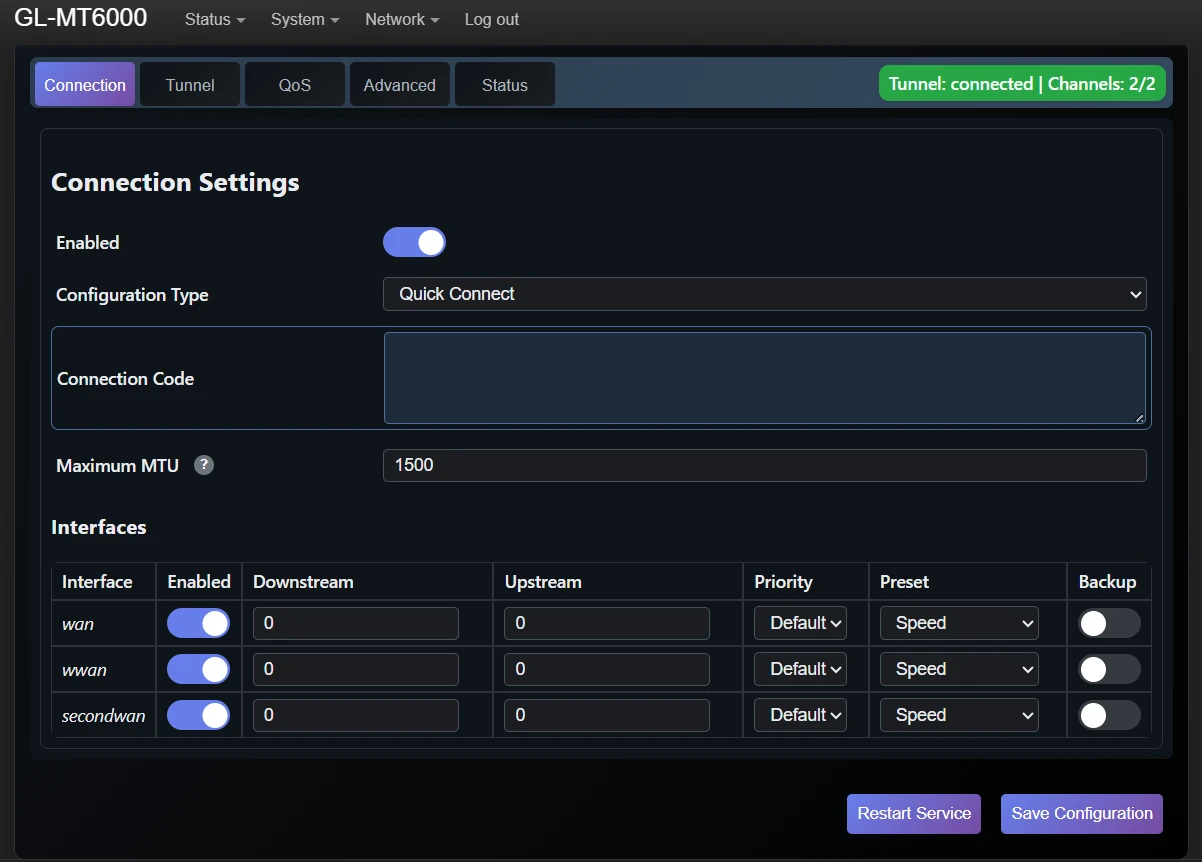
The client auto-detects every WAN port on the router. There is no further configuration. Both WANs are picked up and bonded without you telling the client they exist.
Bonding over WiFi-as-WAN is possible but is outside the scope of this guide.
Proving it works
Numbers from a router are only worth anything if you can see what went into them, so here is the full picture.
We tested each connection on its own, six runs each, and recorded the range rather than cherry-picking a best result. Then we bonded them and took the average of six more runs.
| Connection | Download | Upload |
|---|---|---|
| Fibre, on its own | 390–440Mbps | 400–420Mbps |
| Starlink Mini, on its own | 180–225Mbps | 35–55Mbps |
| Combined, mid-range | ~617Mbps | ~455Mbps |
| Bonded, 6-run average | 600Mbps | 450Mbps |
That works out at 97% of theoretical on download and 99% on upload, with 23ms latency on the bond.
Worth pausing on the latency figure. A common assumption about bonding is that you pay for the extra bandwidth in lag, because traffic is being split across two paths, one of which is a satellite link. At 23ms on the bond, you are not paying that tax.
About these numbers
Two things worth being straight about, because most bonding benchmarks are not.
Bonding is not free. There is an overhead to encapsulating and scheduling traffic across multiple paths. For Bondix it works out at roughly 2.5%, and you can see it in the table above: 600Mbps out of a theoretical 617. You will not get the clean arithmetic sum of your connections out of a bond, and anyone quoting you one is reading from a brochure rather than a speedtest. What you should expect is most of it, reliably, with a link able to fail without taking your session down.
This is bench testing, and your results will differ. These figures come from our bench, with these two specific connections, on the day. Change the ISP, change the connection method, change the location and the numbers move. Look at the Starlink range above: 180 to 225Mbps across six consecutive runs, and that is the honest reality of a satellite link. Cellular brings the same variability plus its own latency: a congested cell at 5pm is a different connection to the same cell at 5am. What holds regardless is the shape of the result: the connections aggregate, the bond survives a path failing, and the latency does not balloon.
If you want to know what bonding will do for your connections specifically, that is a conversation rather than a blog post, so talk to us.
Failover is the other half of the story, and it is far better watched than read. We will be demonstrating it live in the companion video, pulling a connection mid-transfer and showing the session survive.
Verdict
The Flint 2 is now the easiest way to get onto Bondix bonding. Sixteen minutes, no terminal, and a factory recovery path if you ever want to put it back to how it came. We reinstalled it from factory several times while writing this and the process was identical every time. Sixteen minutes, every time.
If you would rather it simply worked when it arrived, that is what we sell: the Flint 2 with Bondix pre-installed, £183 inc VAT, UK stock, warranty backed. Steps 1 to 17 above are already done, so you paste your connection code at step 18 and you are bonding.
Need a Bondix server to bond to?
We host them, in the UK, and we are Bondix’s own authorised hosted solutions partner. Hosted Bondix from £20/month, and you just connect your router.
View Bondix HostingOr start with a free 48-hour Bondix trial and connect your router to one of our servers first: no commitment, full bonding, real UK infrastructure.
SimpliWiFi is Bondix’s authorised hosted solutions partner and official Bondix & Teltonika distributor in the UK & EU.